This is the third in a series of articles to help you prepare for the teaching job interview. In the last two articles, I discussed how you can prepare for the Writing Assignment At Teaching Job Interview and how to Prepare For A Teaching Interview.
In this article, I’ll share four things to help you prepare for the teaching demonstration.
Teaching Demonstration
Most applicants applying for a teaching position seem have some teaching experience either as a Teaching Assistant (TA) in graduate school, or as an adjunct faculty, or as a trainer in the industry they’ve specialized in. If you happen to be one of those, you’re fortunate enough to have some classroom or instructional experience.
However, that isn’t the case for all applicants, and it shouldn’t prevent you from still being able to perform a teaching demonstration and doing exceptionally well if you are prepared!
While prior teaching experience is helpful, what is more important is possessing excellent communication skills and the ability to connect and engage with students.
Since teaching demonstrations are relatively short, usually 10 minutes in length, you have limited time to show your hiring committee how well you are able to articulate your thoughts and break-down the concept you are teaching. You’ll also be assessed on your ability to peak students’ interest and engage them through your delivery, and non-verbal communication.
The following four tips will help you better prepare for your teaching demonstration:
1. Content Mastery
Your hiring committee will most likely provide you with the topic for your teaching demonstration in advance. Make use of the early notice to ensure that you familiarize yourself with the topic you are going to demo. If you’re lucky, you’ll be assigned with a topic which you are very familiar with.
When I went through my teaching demo, the topic that I was assigned had very little to do with the discipline and college level that I would be teaching if hired. Thankfully, it was a topic that I was extremely familiar with because I’d studied, researched, and written about it in graduate school. Familiarity with the topic is extremely important because it will boost your confidence as you prepare for and deliver your demonstration.
So, make sure you know everything you need to know about that topic. Having said that, you need to remember that the hiring committee and your future students do not need to know everything you know. Your job is to cover the topic(s) that they need to know to help them achieve the lesson or course objectives.
2. Content Structure
Once you feel confident with your mastery of the topic that you’ll need to teach, it is time to begin creating an outline for what you need to include in your demo. Remember that you only have a few minutes to perform your teaching demo, so you need to be very selective about what you cover. As I stated earlier, your job is not to teach everything you know, but merely what your students or hiring committee needs to know about that topic in the allotted time.
When planning your outline, you should include the following three things:
- An Overview: The purpose of the overview is to lay the foundation for what students should expect to learn and why. It figuratively sets the stage for the topic you are about to present, and it should include the following:
- The title of your topic.
- What will be covered (in list or bullet format).
- How or why it is relevant or important for the students to learn.
- Content: This is the heart of your topic and what you’ll cover during the demo. Your content should be concise but informative and engaging. You may be asked to explain a concept, a definition, or illustrate how something works. Use the overview outline in the previous step to help you develop your content.As far as developing engaging content, here are a few things that I have found to help with engaging students:
- Be enthusiastic and passionate about the topic.
- Make eye contact with the students.
- Share a relevant story.
- Conclusion: You may be tempted to use up all of the time given to you to flex your intellectual muscles in front of your committee, but that’s not the purpose of the teaching demo. You need to focus on teaching what you were asked to teach in an effective manner. Do not rush, and don’t feel pressured into adding more content to fill up the given time. Allow 1 or 2 minutes for questions.
3. Visual Aids
When planning your teaching demo, identify the visual aids that will be provided to you by the hiring committee, if any, and determine which of them would best help you cover the content that you plan on presenting.
Some content is best delivered through a digital presentation software while smart boards or white boards are still effective for other types of content. The advantage of the digital presentations such as PowerPoint, Keynote, Prezi, or Google Slides is that you don’t have to use any of your demo time to actually generate the content on the slides since you would have done that in advance.
Brevity
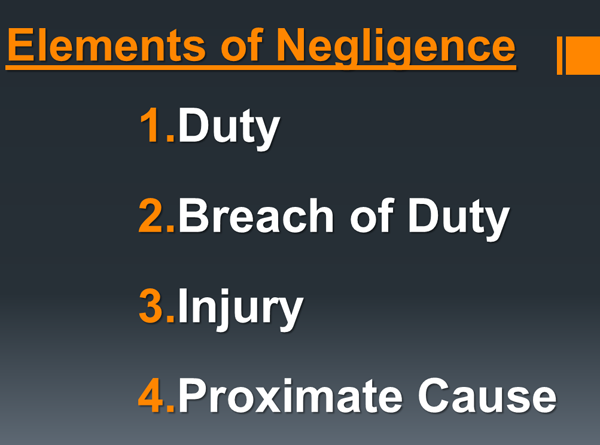
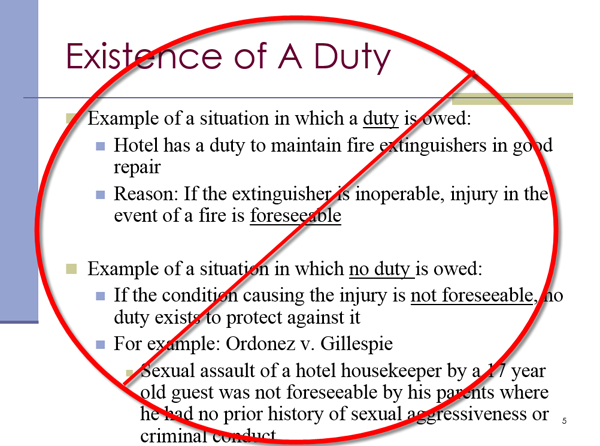
When putting your presentation together, keep each slide simple and avoid tiny text and overcrowding. A good rule-of-thumb is to limit each slide to no more than 6 bullets, with no more than 6 words per bullet. Some presentation designers even suggest no more than 12 words total per slide. Pick whichever works for you but avoid listing paragraphs and lots of text on each slide as that would be ineffective.
In these two examples, the first slide contains (left) only ten words, while the second slide on the right contains only five words.
GOOD
BAD
Students should be focused on what you have to say and not on busily reading and copying what’s on the slide. Bear in mind that you only have a few minutes to teach, so your presentation cannot be too long. If your presentation is 10 minutes, I wouldn’t recommend more than 3-4 slides.
Design Elements
There is a lot that can be said about design, and if you haven’t read Presentation Zen by Garr Reynolds, I would highly suggest that you do so. The two key points that I do want to emphasis with regards to design are fonts and images.
Be sure to use a font style and size that are large enough to see and are easy to read off of a screen. I’d recommend using a member of the Sans-Serif font family such as: Arial, Verdana, or Tahoma.
As for the size, remember that this is a presentation and not a word document, so go large. Your font size should be 40 or larger.
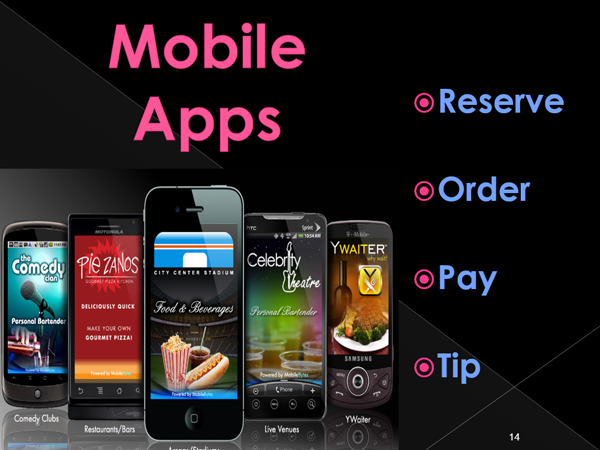
If you choose to add an image to your presentation, be sure to include a large high quality image. You want your image to be easily seen and look professional. Avoid pixelated and blurry images, they’re unclear and will make you look like an amateur.
In these two examples, the emphasis is on high resolution images with limited text on the slide. The images on both slides take up a majority of the real estate on the slide without looking pixelated and blurry.
GOOD
BAD
Once you’ve completed your presentation, be sure to proof-read all of your slides multiple times.
Back-up
Regardless, of the method that you choose to adopt, it’s helpful to have a back-up plan in case your experience any glitches on the day of the demo. If you’re doing a digital presentation, be sure to have your presentation saved in multiple formats including PDF.
Sometimes the version of the PowerPoint or Keynote that you save your file in is not compatible with the version that the school has and in the event that you are not able to open your presentation file correctly, most computers will still be able open a PDF. The PDF version will not include any of the animation, sounds, videos, or transitions that you may have included in your original presentation, but at least you’ll have still-slides that you can use for your demo.
In addition to your digital presentation, I would also recommend providing a hardcopy of the presentation to the committee as well.
4. Teaching Rehearsal
Your teaching demonstration will be assessed on a number of things including:
- communication skills
- presentation skills
- ability to engage and generate interest
- knowledge of the subject matter
- ability to teach within the allotted time
- ability to clearly and effectively answer questions
Prepare your teaching demonstration as early as possible, and then practice your teaching presentation over and over again and until you are comfortable delivering the material without referring to your notes or slides.
If possible, record yourself giving the teaching demonstration using a camcorder and review the footage to see what you did well and what you need to improve on.
When reviewing the video, ask yourself the following things:
- Do I look confident and comfortable with the material? You want to ensure that you’re not projecting nervous behavior.
- Are you projecting your voice loud enough, and do you sound enthusiastic about your topic? If you’re excited about your topic, your audience will get excited about it. You want to avoid sounding monotone or speaking in a low volume.
- Did you actually address the specific topic that you were asked to demo?
- Are you able to teach the topic within the allotted time, or do you need to revise your presentation? You want to make sure that you do not run out of time during your demo. And you also do not want to rush.
If you really want to go the extra mile in your preparation, ask a friend or colleague to give you feedback on your presentation video. Be sure to find someone who will actually help you improve your demo and not be too shy about providing constructive feedback.
So to recap, here are the four things that you need to do to prepare for a teaching demonstration at a job interview:
- Content Mastery: Familiarize yourself with your topic.
- Content Outline: Create a structure for your presentation that covers the title, what will be covered, and the purpose of knowing the material.
- Visual Aids: Make sure your presentation is concise, well designed, and backed-up in multiple formats including hard copy.
- Teaching Rehearsal: practice your demo repeatedly until you are comfortable and confident with the material and your delivery. Use a camcorder if possible, and solicit feedback from friends or colleagues.
Well, I hope you found this post useful. If you did, I’d be grateful if you’d help spread the word by sharing this with friends or colleagues on LinkedIn, Facebook, Twitter, Reddit, or any other social media platform you use.


